Manage Tools & Skills
By the end of this tutorial, you'll know how to:
- Navigate to the Tools & Skills page
- Browse and search tools across categories
- Toggle built-in tools on and off
- Explore MCP server and custom tools
- Reset all tool configurations to defaults
Time estimate: 5–10 minutes
Prerequisites
- An active SRE Agent
- Contributor or higher role on the agent resource
Step 1: Navigate to the Tools & Skills page
In the left sidebar, expand Capabilities and click Tools.
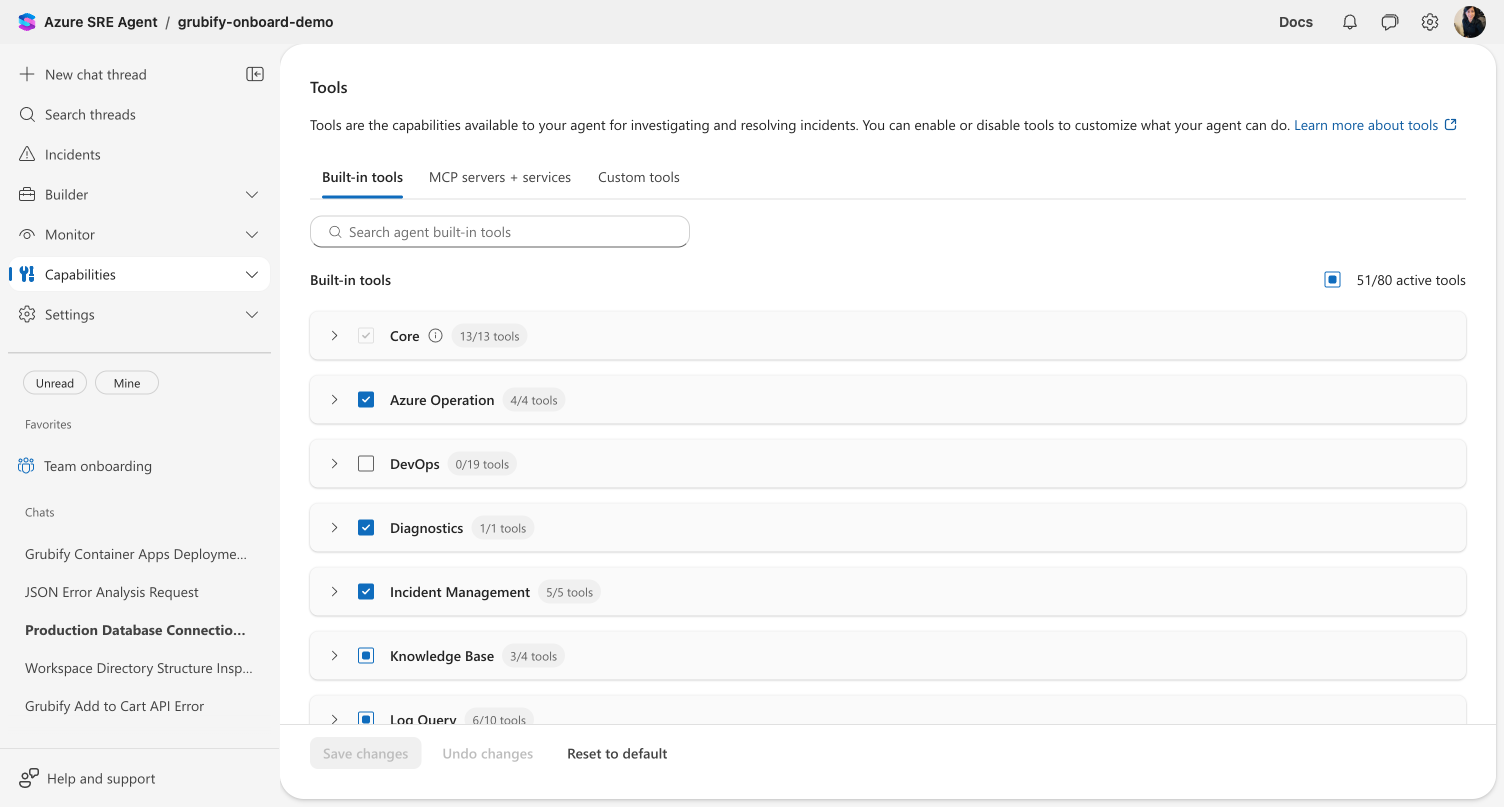
The page opens with three tabs: Built-in tools (selected by default), MCP servers + services, and Custom tools. A search box at the top filters tools within the active tab.
Checkpoint: You see a page titled "Tools" with the description "Tools are the capabilities available to your agent for investigating and resolving incidents."
Step 2: Browse built-in tools
The Built-in tools tab organizes tools into expandable categories. Each category header shows a count of active tools (for example, "4/4 tools" means all four tools in that category are enabled).
Click a category to expand it and see individual tools with their descriptions.
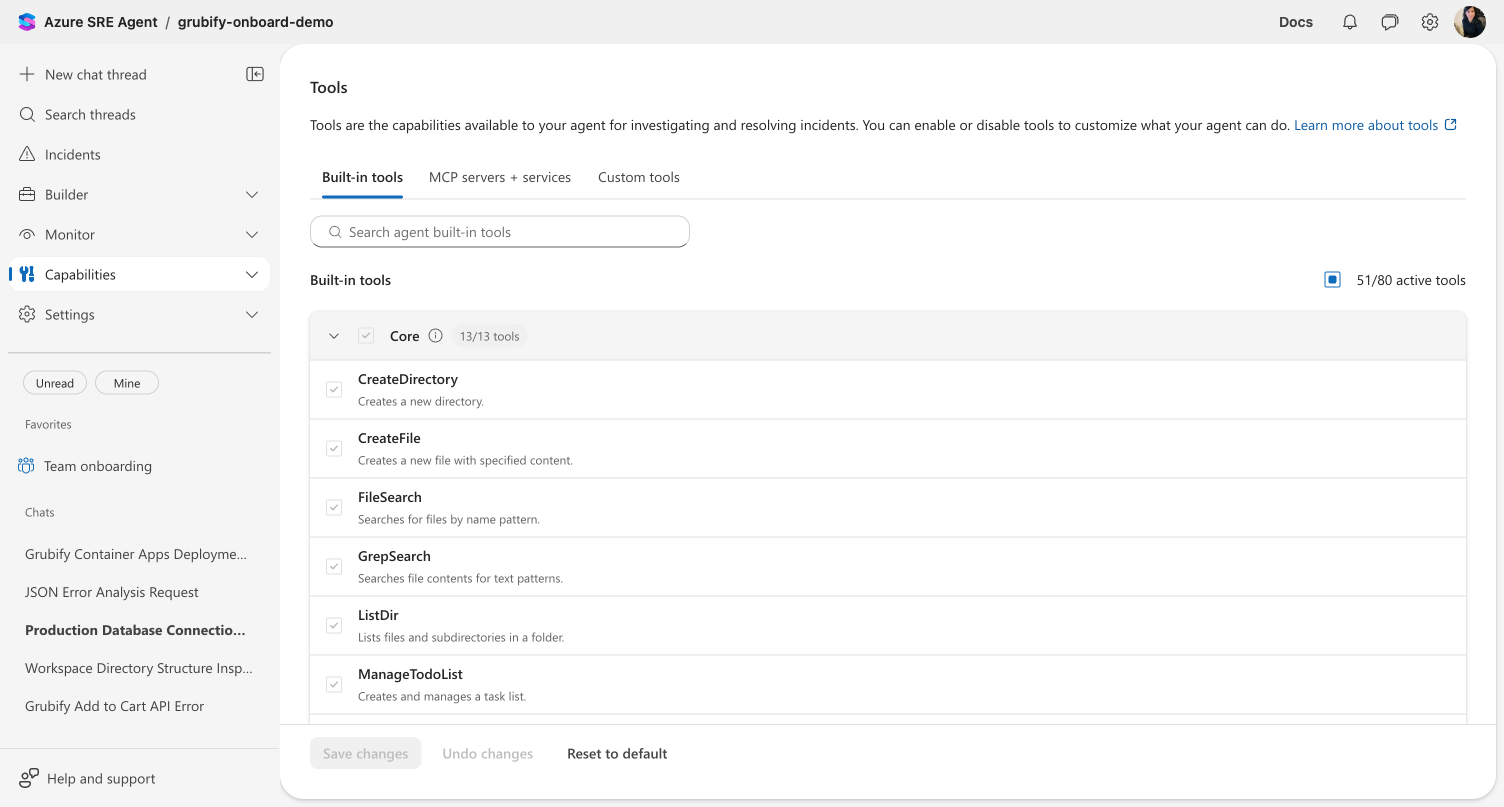
Notice the Core category: these tools have greyed-out checkboxes because they're always enabled. An info icon explains that core tools cannot be disabled.
Checkpoint: You can expand categories and see tool names with descriptions. Core tools have disabled checkboxes.
Step 3: Toggle a built-in tool
Find a non-core tool and uncheck its checkbox to disable it. A footer bar appears at the bottom with three buttons:
- Save changes — persist your configuration
- Undo changes — revert to the last saved state
- Reset to default — restore all tools to platform defaults
Click Save changes to apply your configuration.
Checkpoint: After saving, the tool's active count updates in the category header. The footer bar buttons return to their default (greyed-out) state.
Step 4: Search for a tool
Type a tool name or keyword in the search box (for example, "query" or "deploy"). The list filters in real time to show only matching tools across all categories.
Checkpoint: Only tools matching your search term are visible. Clear the search to see all tools again.
Step 5: Explore MCP server tools
Click the MCP servers + services tab.
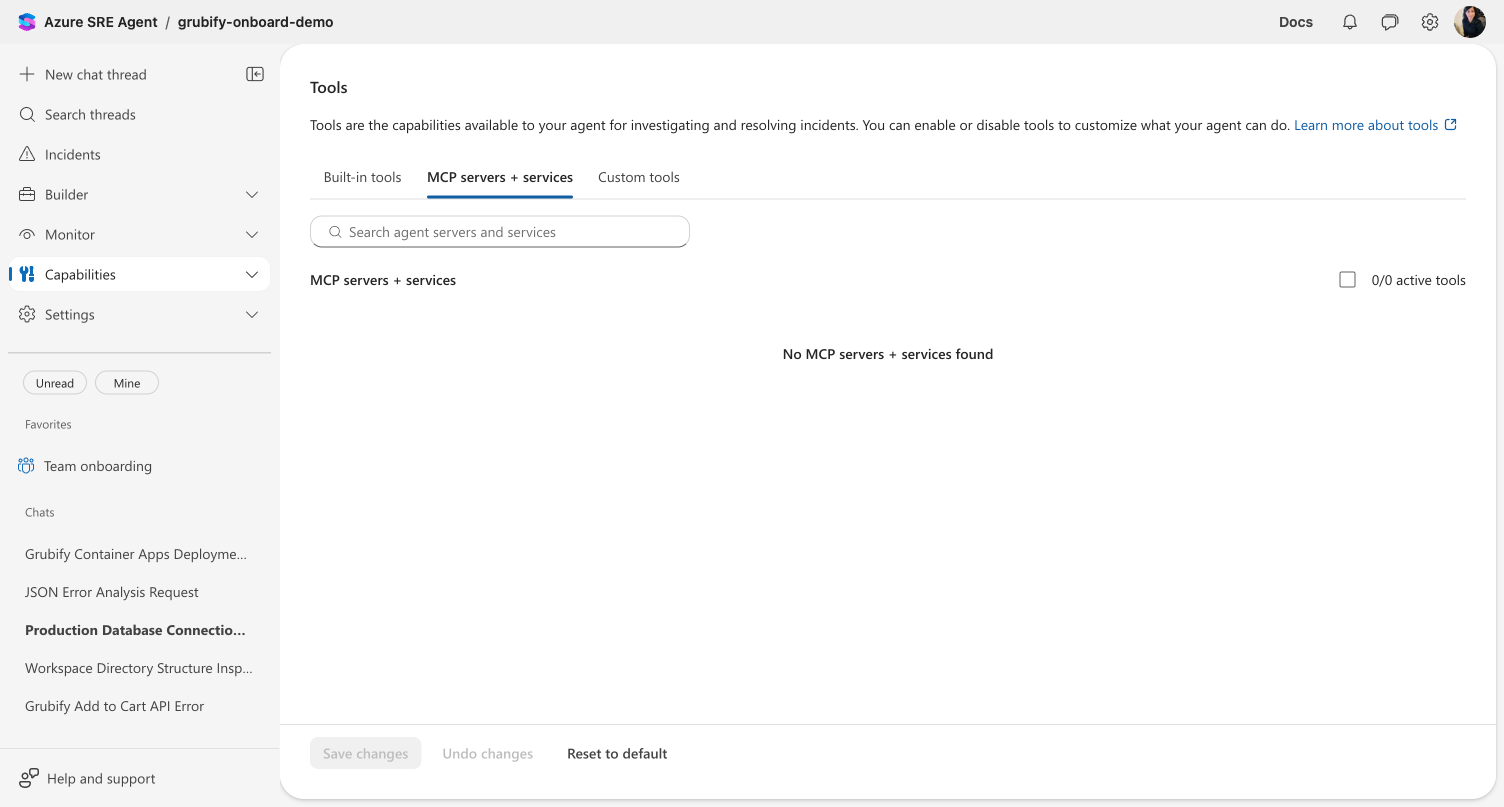
This tab shows tools provided by your connected MCP connectors. Each MCP server appears as a category with its tools listed underneath.
If no MCP connectors are configured, you'll see the message "No MCP servers + services found." To populate this tab, add MCP connectors through the Plugin Marketplace.
Checkpoint: The MCP tab shows tools from configured connectors, or an empty state if none exist.
Step 6: View custom tools
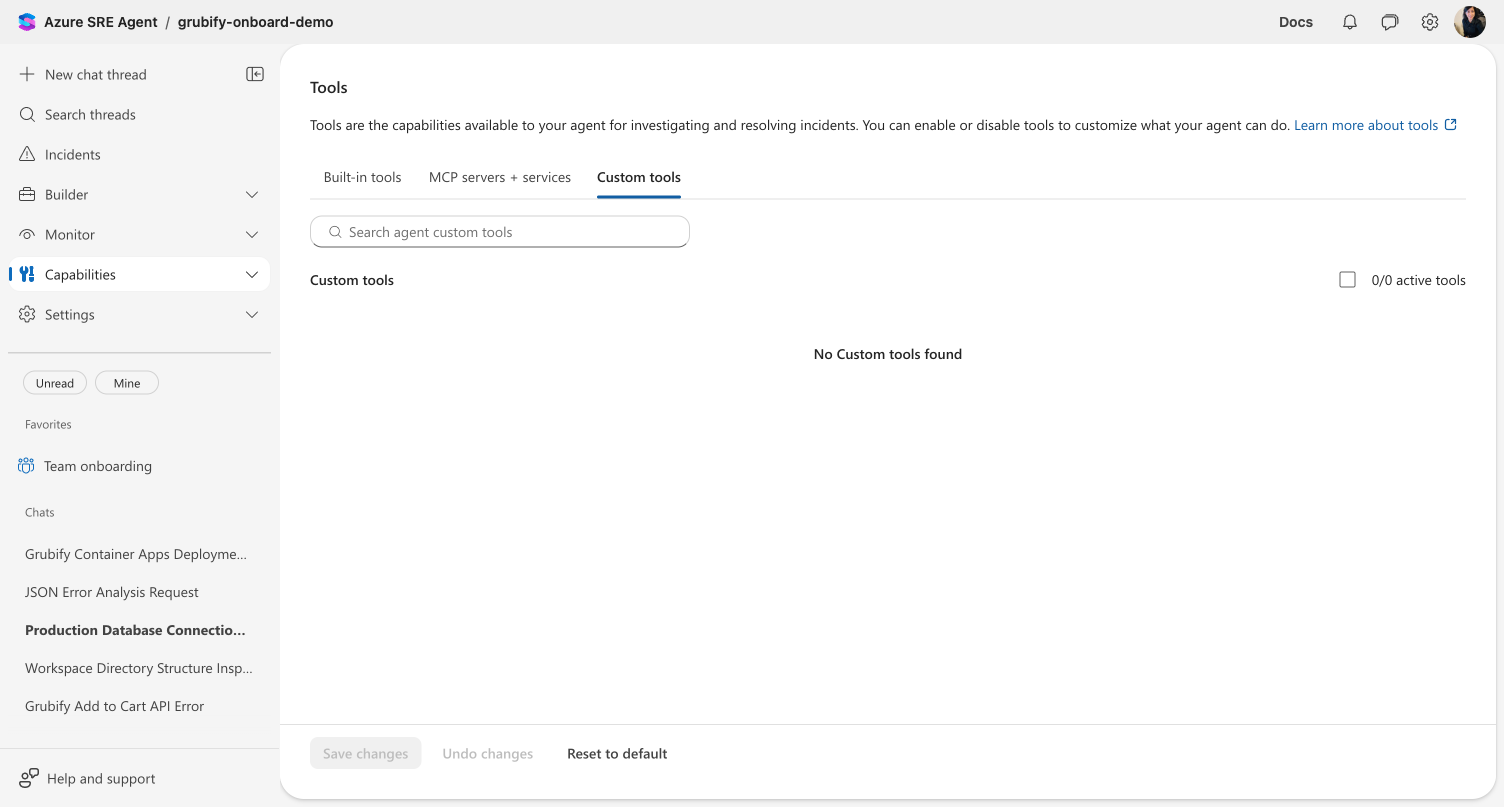
Click the Custom tools tab.
Custom tools are created through:
- Kusto tool creation — deterministic KQL query tools
- Python tool creation — custom Python function tools
- Extended agent YAML configurations
Once created, custom tools appear here automatically.
Checkpoint: The Custom tab shows user-defined tools, or an empty state if none exist.
Step 7: Reset to defaults
If you want to undo all tool configuration changes, click Reset to default in the footer bar.
A confirmation dialog appears asking you to confirm. Click Confirm to revert all tool toggles to their platform defaults.
Checkpoint: After confirming, all tool active counts return to their default values.
What you learned
- The Tools & Skills page (Capabilities > Tools) provides space-level tool management
- Built-in tools are organized by category with toggle controls — core tools are always enabled
- MCP server tools appear from configured MCP connectors
- Custom tools appear from Kusto/Python tool creation or YAML configurations
- Changes apply across all agents in the space
- Reset to default restores all tools to the platform baseline
Related
| Resource | What it covers |
|---|---|
| Tools & Skills | Understanding the Tools & Skills capability |
| Create a Kusto tool | Build a custom query tool |
| Create a Python tool | Build a custom Python tool |
| Plugin Marketplace | Add MCP connectors to populate the MCP Servers tab |