Step 5: Automate Actions
10 min · Build an automated health check that runs on schedule and sends results via email. You'll connect a tool (Outlook), create a subagent to use it, and attach a scheduled task to trigger it.
What you'll accomplish
By the end of this step, your agent will:
- Have an Outlook connector that provides email tools
- Have a subagent configured with the SendOutlookEmail tool
- Run a scheduled task that executes the subagent daily
Prerequisites
| Requirement | Details |
|---|---|
| Agent created | Complete Step 1 first |
While not required, completing Step 2: Add Knowledge and Step 3: Connect Source Code makes your scheduled tasks more effective. Health checks can reference YOUR runbooks and correlate findings to recent code changes—turning generic reports into actionable insights.
Step 1: Add the Outlook connector
First, connect an external tool. You need the connector before you can give its tools to a subagent.
- Click Builder in the left sidebar.
- Click Connectors.
- Click Add connector.
- Select Send email (Office 365 Outlook).
- Sign in with your Microsoft account.
- Click Add connector.

The connector creates tools your subagents can use: SendOutlookEmail, GetOutlookEmail, ListOutlookEmails, and others.
Step 2: Create a subagent with the email tool
Next, create a subagent that can send emails. Subagents are specialized workers that the agent can invoke for specific tasks.
- Click Builder → Subagent builder.
- Click Create subagent (or the plus icon on the canvas).
- Name it
email-notifications. - Set Autonomy to "Autonomous" (runs without user confirmation).
- Add the tool: Click the tools dropdown and select SendOutlookEmail.
- Click Save.
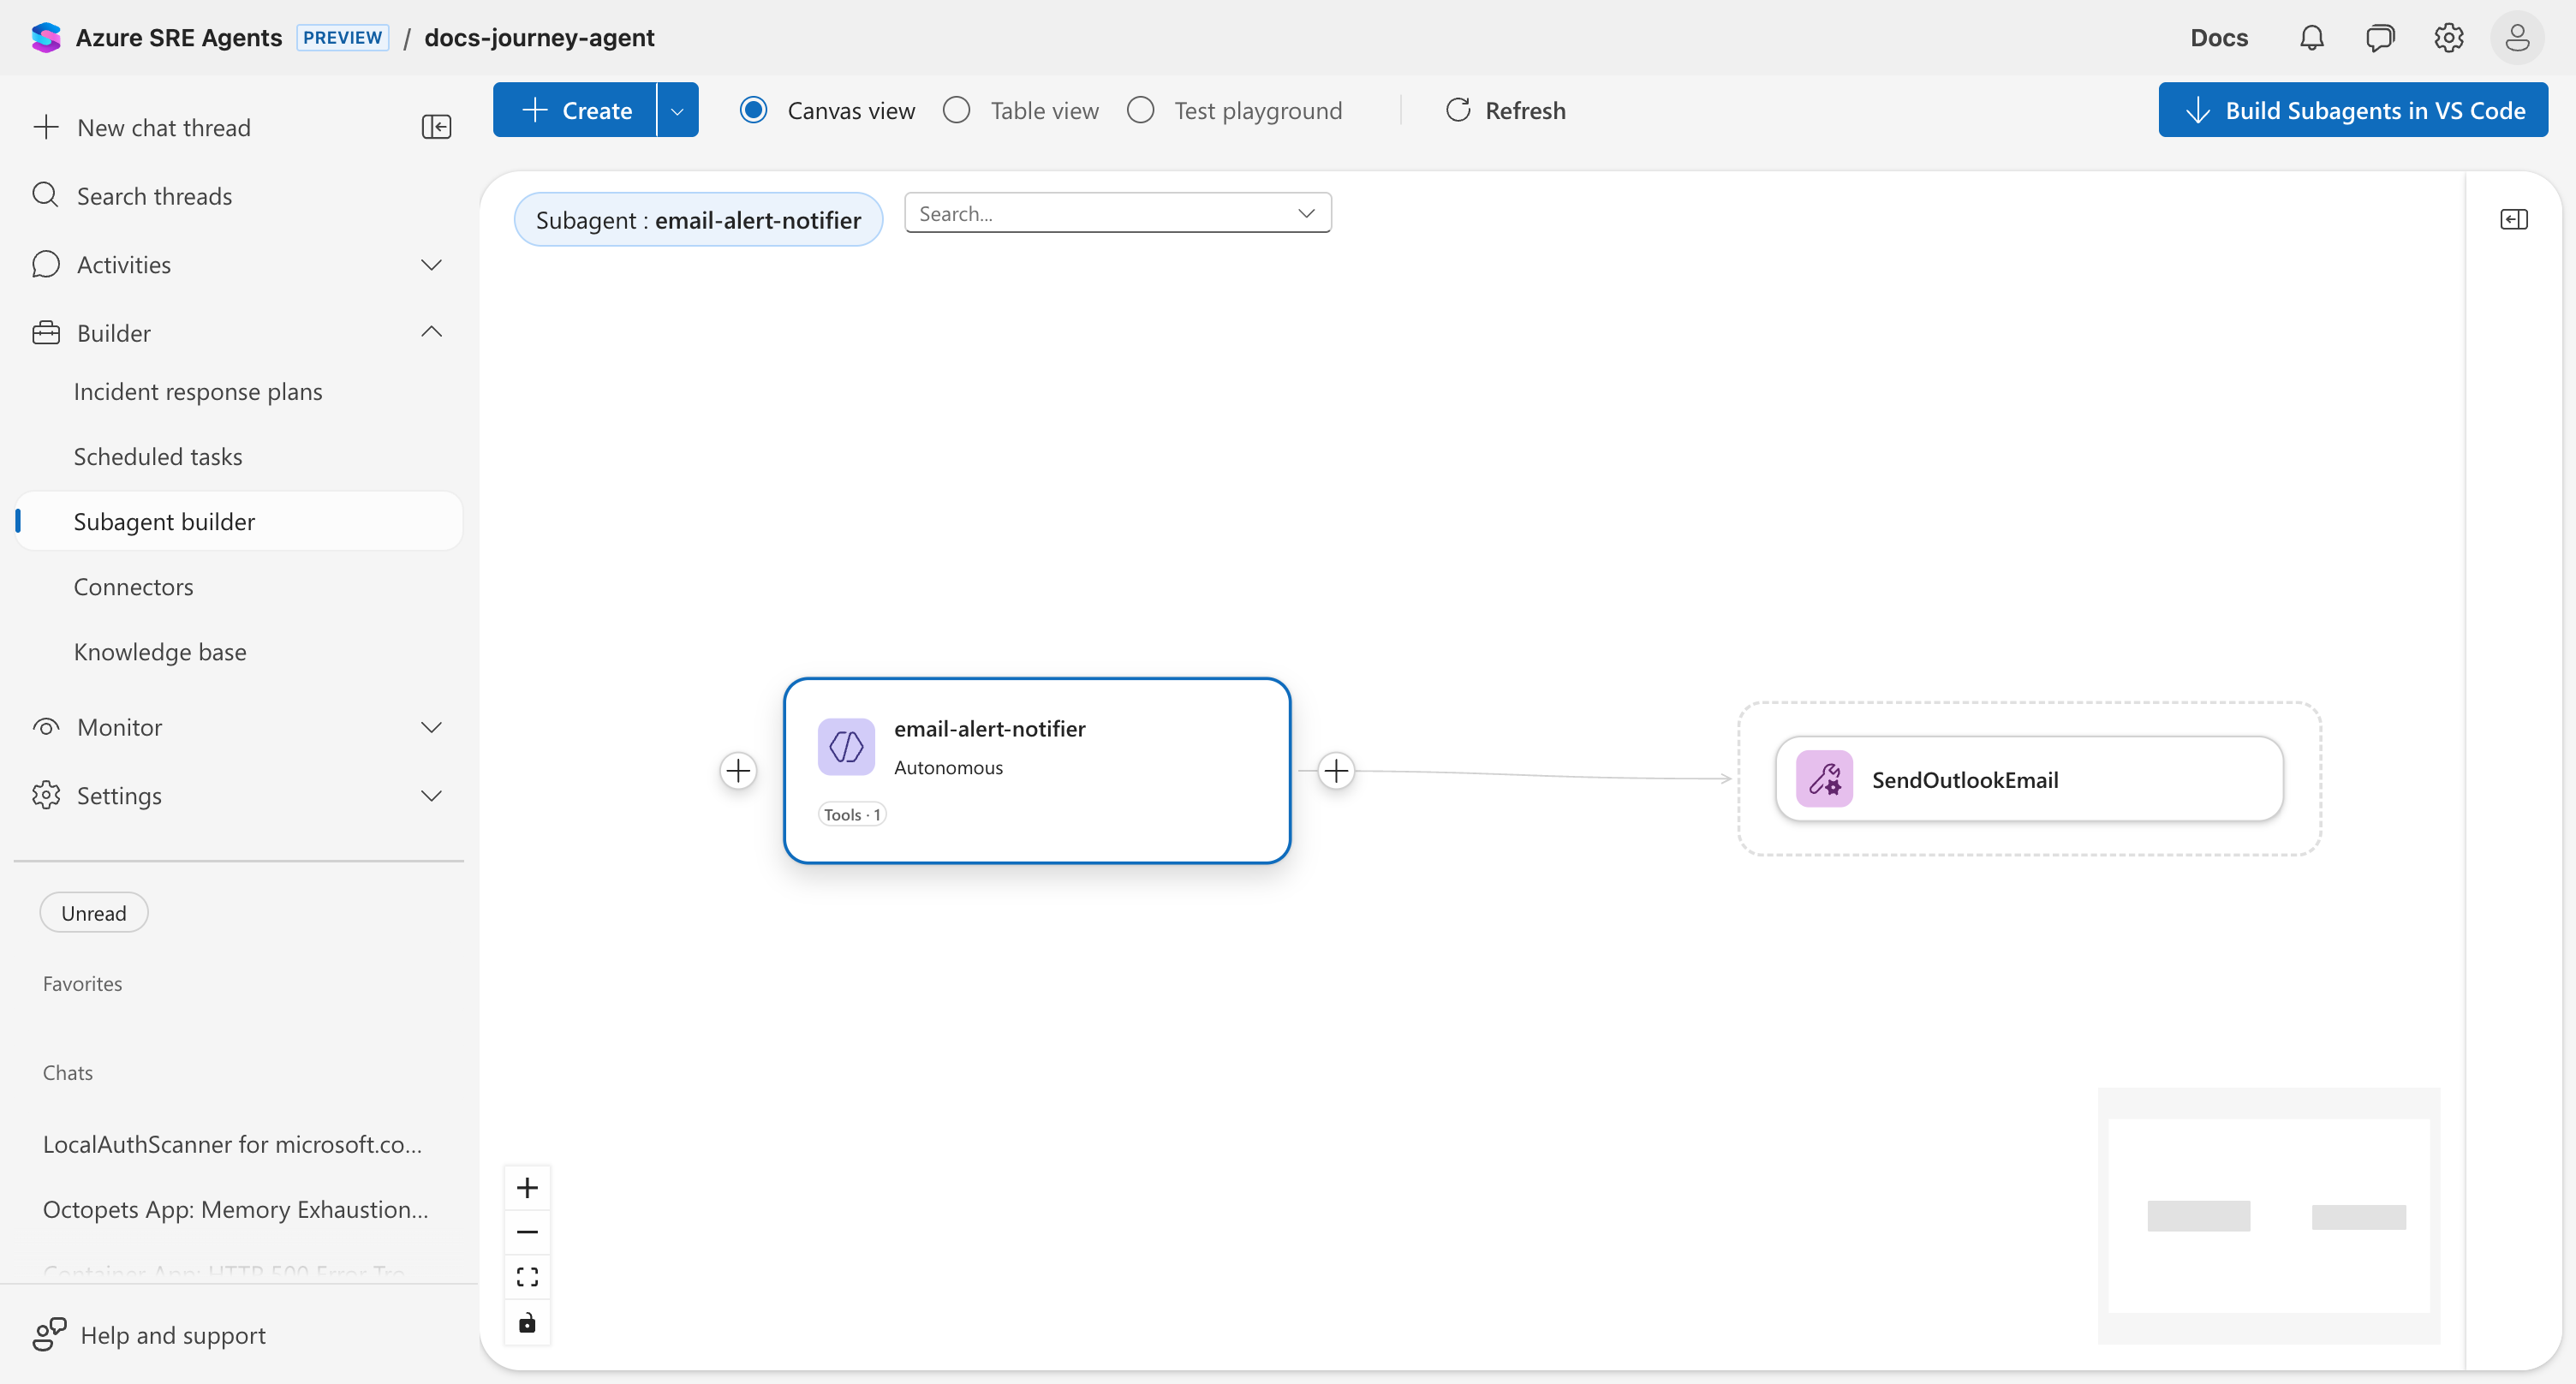
Your subagent now appears on the canvas with its connected tool.
Step 3: Add a scheduled task to the subagent
Now link a scheduled task to the subagent. You do this directly from the subagent node.
- Click the plus sign (+) on the left side of the
email-notificationssubagent node. - Select Add scheduled task.
- Fill in the task details:
| Field | Value |
|---|---|
| Task name | daily-resource-health-report |
| Schedule | Every 24 hours (or use cron: 0 8 * * * for 8 AM daily) |
| Notification channel | (Optional) Teams webhook URL |
- Enter the task prompt:
Check the health of our Azure resources:
1. Verify all container apps are running
2. Check CPU and memory metrics over the last hour
3. Review any recent warning logs
4. Summarize findings and send a report via email using SendOutlookEmail
- Click Save.
The canvas now shows the complete workflow: scheduled task → subagent → tool.
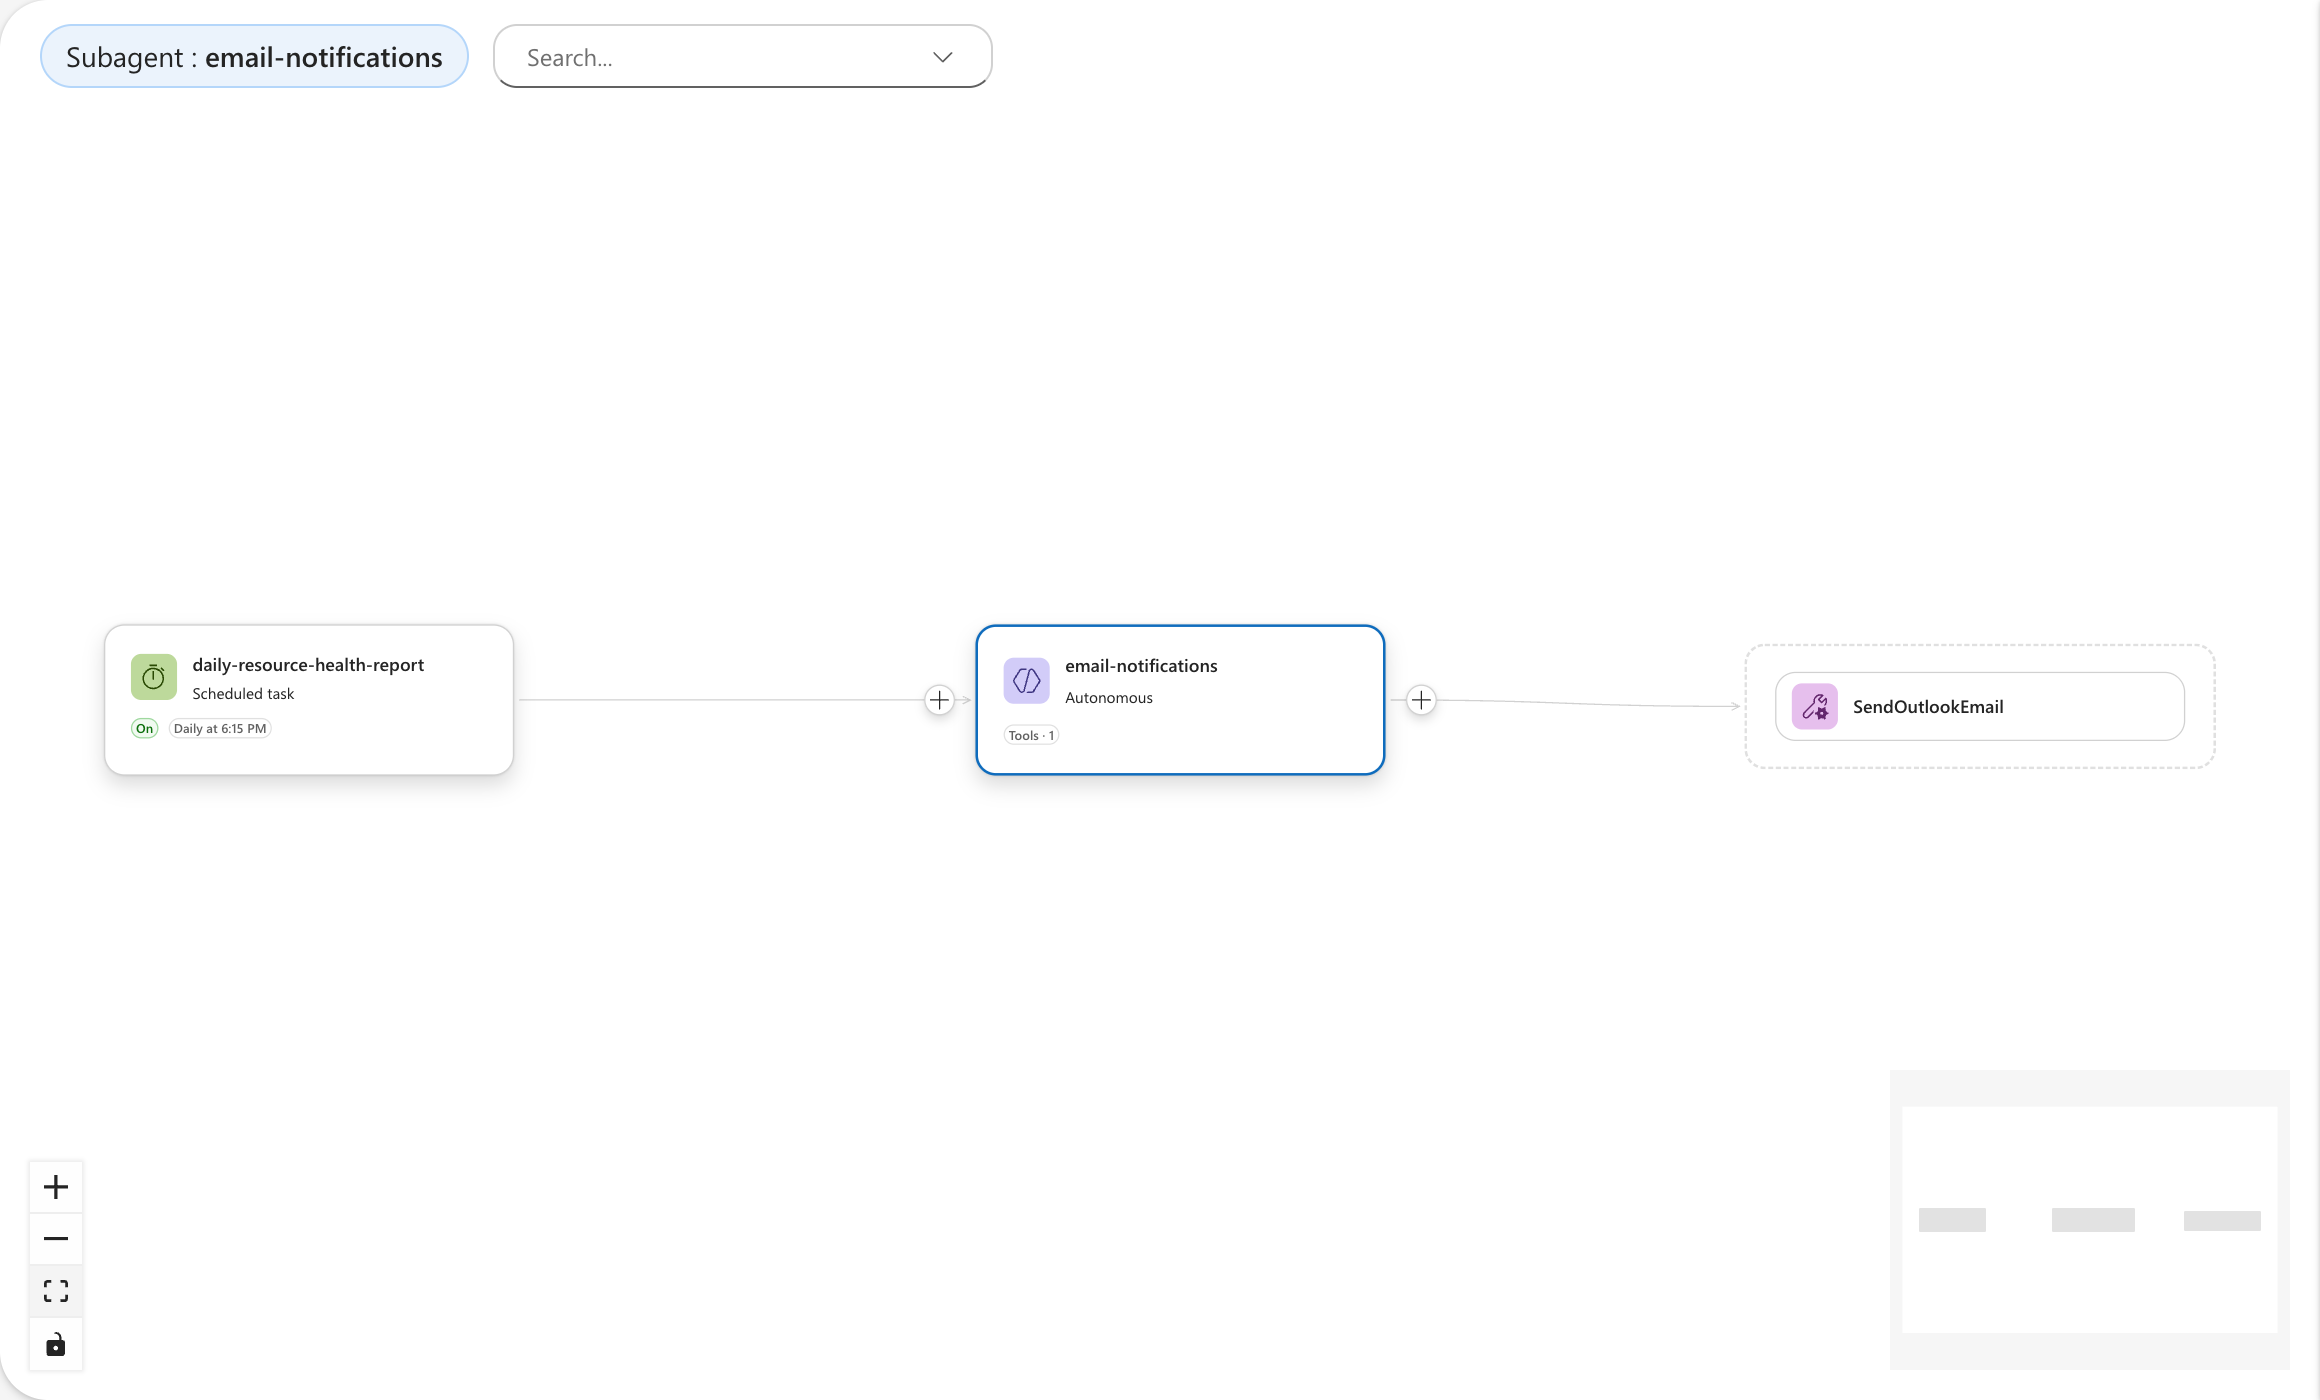
The scheduled task triggers the subagent, which has access to the SendOutlookEmail tool from the Outlook connector. Without the connector, the subagent has no email tool. Without the subagent, the scheduled task has no way to send notifications.
Verify it works
Test your scheduled task:
- Click Builder → Scheduled tasks.
- Select your task in the list (check the checkbox).
- Click Run task now in the toolbar.
- Click the chat thread that opens to see execution details.
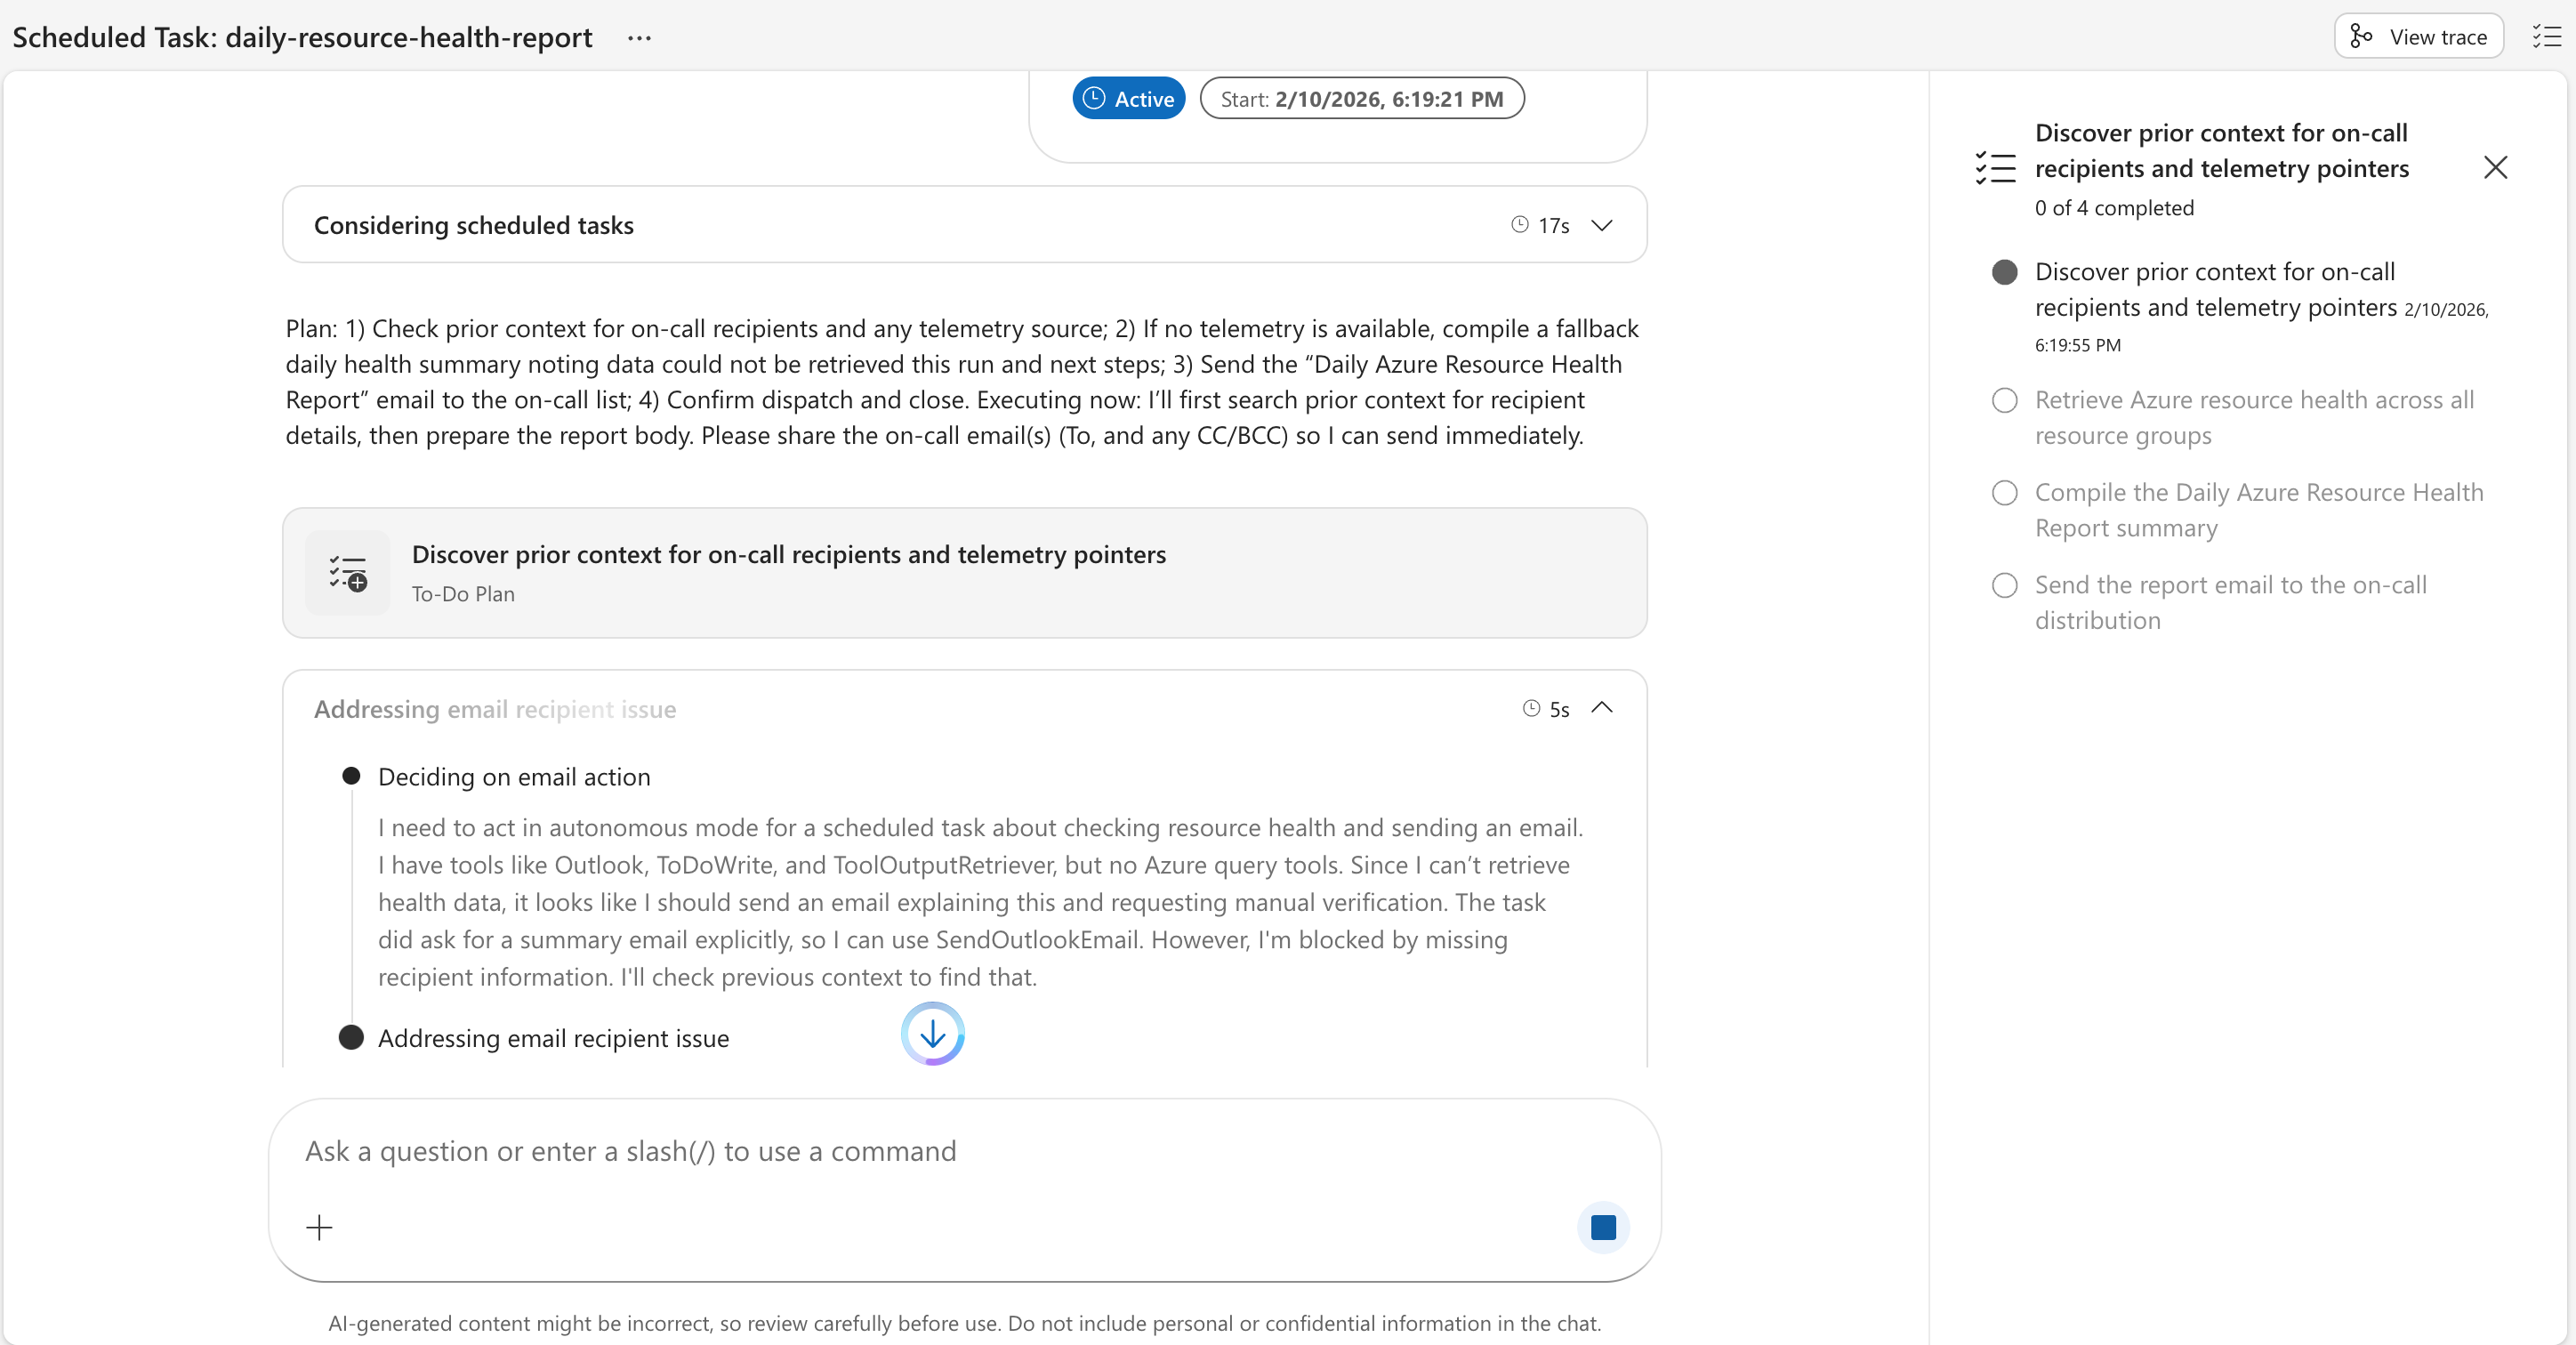
The agent shows:
- Active status and execution time
- Planning and reasoning steps
- Tool invocations (SendOutlookEmail)
- Completion confirmation
What you unlocked
✅ Your agent now:
- Connects to external tools (Outlook)
- Runs subagents with specific tool access
- Executes scheduled tasks automatically
- Sends proactive notifications without manual triggers
🎉 You've completed the getting started journey!
What's next?
Your agent is fully operational. Here's where to go deeper:
Understand the concepts
- Subagents — How subagents work, when to use them, autonomy levels
- Connectors — All available connectors and how they extend your agent
- Tools — Built-in tools and how to add custom ones
- Skills — Modular capabilities your agent loads on demand
Explore more capabilities
- Scheduled tasks — Full capability details for automated recurring work
- Send notifications — Notify your team via Teams, Outlook, or MCP tools
- Workflow automation — Chain actions together for complex workflows
- Agent hooks — Validate agent responses and audit tool usage
- Monitor agent usage — Track how your agent is being used
- Audit agent actions — Review what your agent did and why
Add more connectors
- Tutorial: Connect Azure Data Explorer for log queries
- Tutorial: Build custom MCP connectors — Jira, Slack, Grafana, any API
Advanced automation
- Tutorial: Scheduled task patterns — Cron expressions, business hours, chained workflows
- Tutorial: Set up response plans — Configure incident automation
- Tutorial: Create Python tools — Extend your agent with custom Python code
- Tutorial: Agent hooks — Add guardrails to automated actions