Step 2: Team Onboarding
Teach the agent about your team — who's on call, what services you own, how you handle incidents. At the same time, the agent learns from the context you connected during setup (code repositories, Azure resources, logs) to build a complete picture of your environment. Everything becomes persistent memory the agent references in every future conversation.
What you'll accomplish
- Teach the agent your team — share who's on call, what services you own, and how escalation works
- Share your operational knowledge — tell the agent about your troubleshooting procedures, playbooks, and how your team handles incidents
- Let the agent explore your code — if you connected a repository during setup, the agent reads it to understand your architecture, frameworks, and dependencies
Prerequisites
| Requirement | Details |
|---|---|
| Agent created | Complete Step 1: Create and Set Up first |
You can still talk to the agent and complete team onboarding — the agent works without connected data sources. However, for the best experience, go to Complete Your Setup first to connect your code repository and Azure resources. The agent's onboarding interview is richer when it can read your code.
How team onboarding starts
When you click Done and go to agent from the setup page, the agent opens the "Team onboarding" thread — a pinned conversation in your Favorites sidebar.
The agent starts by building knowledge about your connected resources — exploring your code repository, Azure subscriptions, and any other data sources you connected during setup. You'll see a progress indicator while this happens, and you can chat about other topics in the meantime.
Once that's done, the agent greets you by name and begins the interactive onboarding interview.
Checkpoint: The "Team onboarding" thread appears in your Favorites sidebar. The agent shows progress as it builds knowledge from your connected context.
What the agent learns from your connected context
If you connected data sources during setup, the agent explores them automatically — you don't need to do anything.
Your codebase
The agent reads your connected repository — exploring the README, directory structure, frameworks, and dependencies. You'll see a summary of what it found.

If anything's missing, just tell it:
"We also have a background worker in the
/jobsdirectory that processes queue messages."
The agent updates its memory.
Your Azure resources
If you connected subscriptions or resource groups, the agent explores your infrastructure — listing services, resource types, and configurations.
What you share with the agent
The agent interviews you — and you can share things on your own too. Answer questions, volunteer details, or upload files whenever you're ready. The agent saves everything to persistent memory and you can always add more later.
Your team
The agent asks about your team structure. Answer naturally — the agent extracts the important details.
Example conversation:
Agent: Tell me about your team. What services do you own, and what does your on-call rotation look like?
You: We're the Platform Reliability team, 6 engineers. We own the API gateway and the authentication service. On-call is weekly rotation, we use PagerDuty for alerting. Our escalation path goes to the senior on-call, then to the engineering manager.
Agent: Got it! I've saved this to memory. Here's what I recorded:
- Team: Platform Reliability, 6 engineers
- Services owned: API gateway, authentication service
- On-call: Weekly rotation via PagerDuty
- Escalation: Senior on-call → Engineering manager

Your procedures and knowledge
Share how your team handles incidents — upload files or describe procedures in chat. Both work equally well.
Upload a file: Click the + button in the chat input, select Attach file, and choose your file (Markdown, PDF, or text). The agent reads it, extracts key procedures, and saves them to memory.
Or just tell the agent: No formal documentation? Describe your procedures in chat:
"When we see high CPU on the API gateway, we first check upstream dependencies, then verify the connection pool, then review recent deployments."
The agent extracts the important details and saves them to persistent memory — just as if you uploaded a file.

You can share more knowledge anytime — upload additional files or describe procedures in any chat. The agent merges everything into its persistent memory.
Ask the agent what to do next
After onboarding, ask the agent what else you should set up. Try:
"What should I do next?" or "Where do I start?"
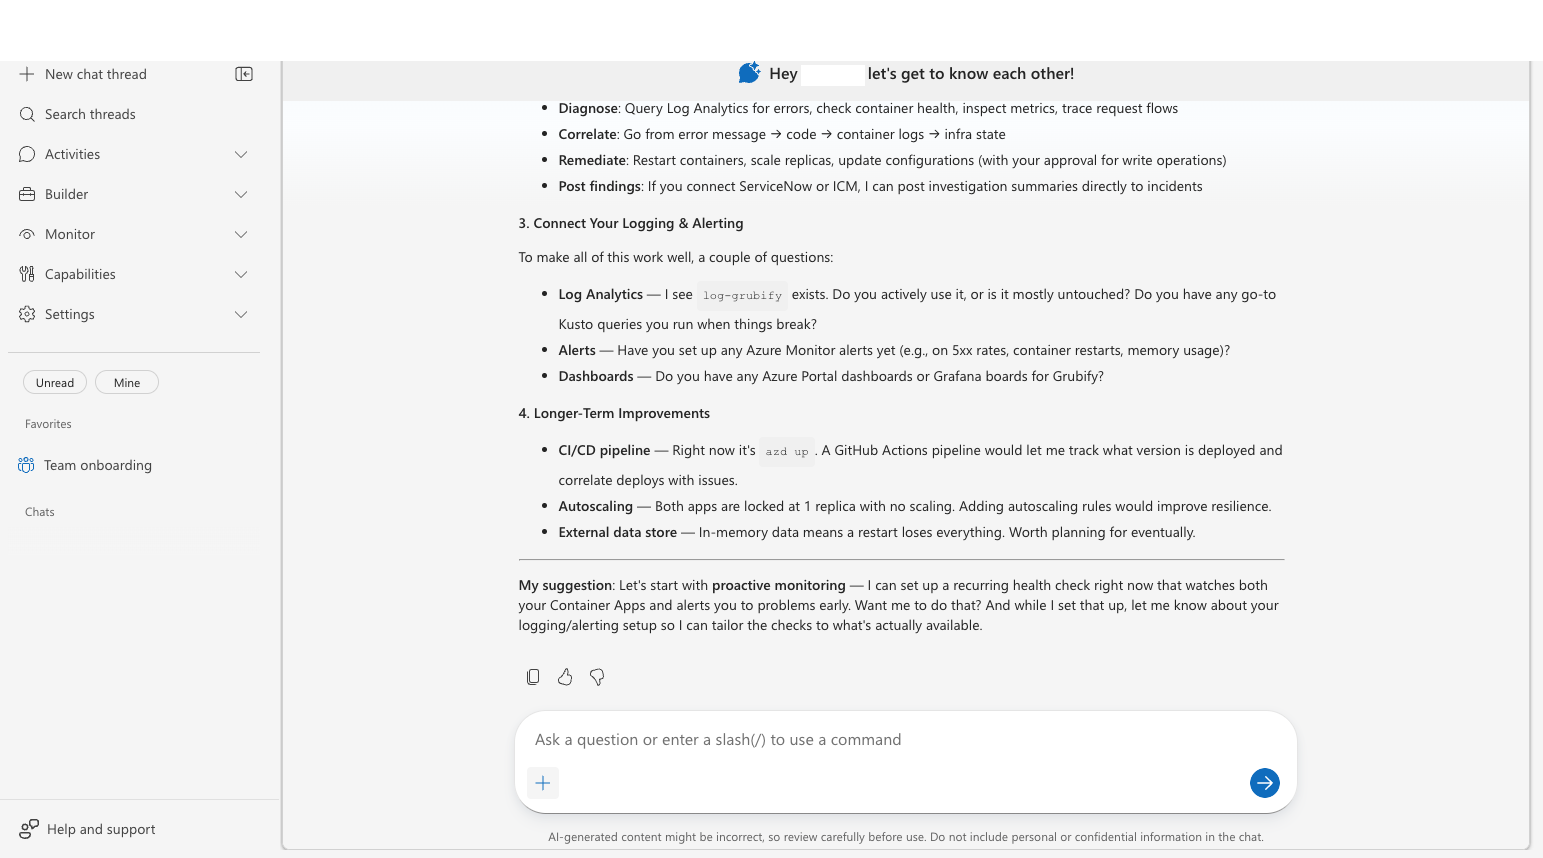
The agent gives you prioritized recommendations based on what you've connected and what's still missing — like connecting additional data sources, uploading more runbooks, or setting up incident response. For a full checklist, see Complete Your Setup.
Checkpoint: The agent displays a numbered list of recommendations tailored to your team.
What the agent remembers
After onboarding, the agent has persistent memory files it consults during every investigation:
| Memory file | Contents | Created during |
|---|---|---|
architecture.md | Repository structure, frameworks, service dependencies, key code paths | Codebase exploration |
team.md | Team name, size, services owned, on-call rotation, escalation paths | Team context interview |
debugging.md | Troubleshooting procedures, runbook steps, known issues | Knowledge sharing (file upload or chat) |
These files persist across sessions. The agent references them automatically — you don't need to remind it about your team or procedures.
Related capabilities
| Capability | What it adds |
|---|---|
| Memory | How the agent stores and uses persistent knowledge |
| Permissions | How access levels and RBAC roles work |
Next step
If you skipped connecting data sources during setup, now is a good time to go to Complete Your Setup and connect your code repository and Azure resources. The agent investigates better with more context.